Cold Season Painting
Finally decided to repaint the house, patio or kids’ cubby house but you’ve missed the summer train? Don’t fret, you can still do so in the chilly season if you follow some important guidelines!
Temperature’s Impact on Paint
Low temperatures can affect the paint application, drying pattern, characteristics and performance of the paint. Understanding these changes will help you prepare for painting in the cold.
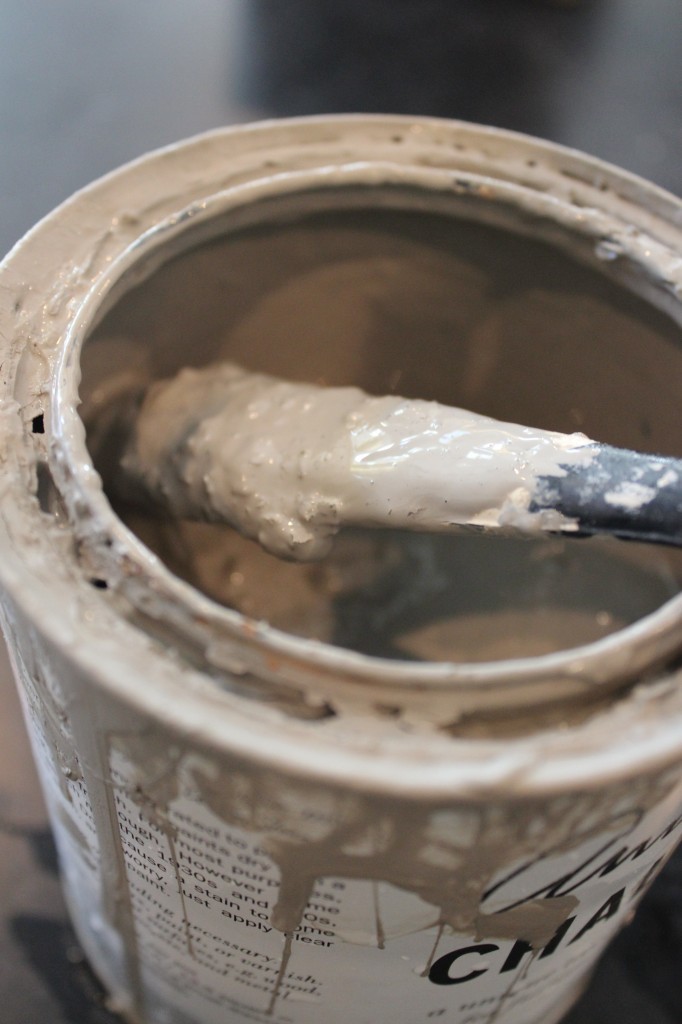
When painting in cold or even freezing temperatures, some paints become dense or semisolid, requiring excessive thinning such as, Alkyd and oil paints, which are based on natural oils and resins, and become more viscid at lower temperatures. Due to the lack of heat, the evaporation rate slows down it can cause acrylic paints to freeze at cold levels, requiring special additives to improve freeze/thaw resistance.
Acrylic paints are manufactured to endure a limited amount of freeze/thaw cycles, but they can quickly reach the point of needing to be discarded. If you’re using acrylic paint that has undergone numerous freeze/thaw cycles it is important to check to see if it has become lumpy. If so, the paint is no longer usable and must be discarded.
Recoat
Drying time is decelerated by cold weather, which extends recoat times. Recoating your paint on a 23-degree day using acrylic paint will require a period of four hours. If the temperature was to drop to 10 degrees, the recoat time will be extended to six hours. Alkyd paints require more time than acrylic paint and, in some cases, necessitate more than 48 hours before recoating.
Recoating in windier conditions is a must! Windier conditions can be a blessing and a curse, as it speeds up the drying time but this can cause the paint to crack. To prevent this from happening apply multiple coats of paint.
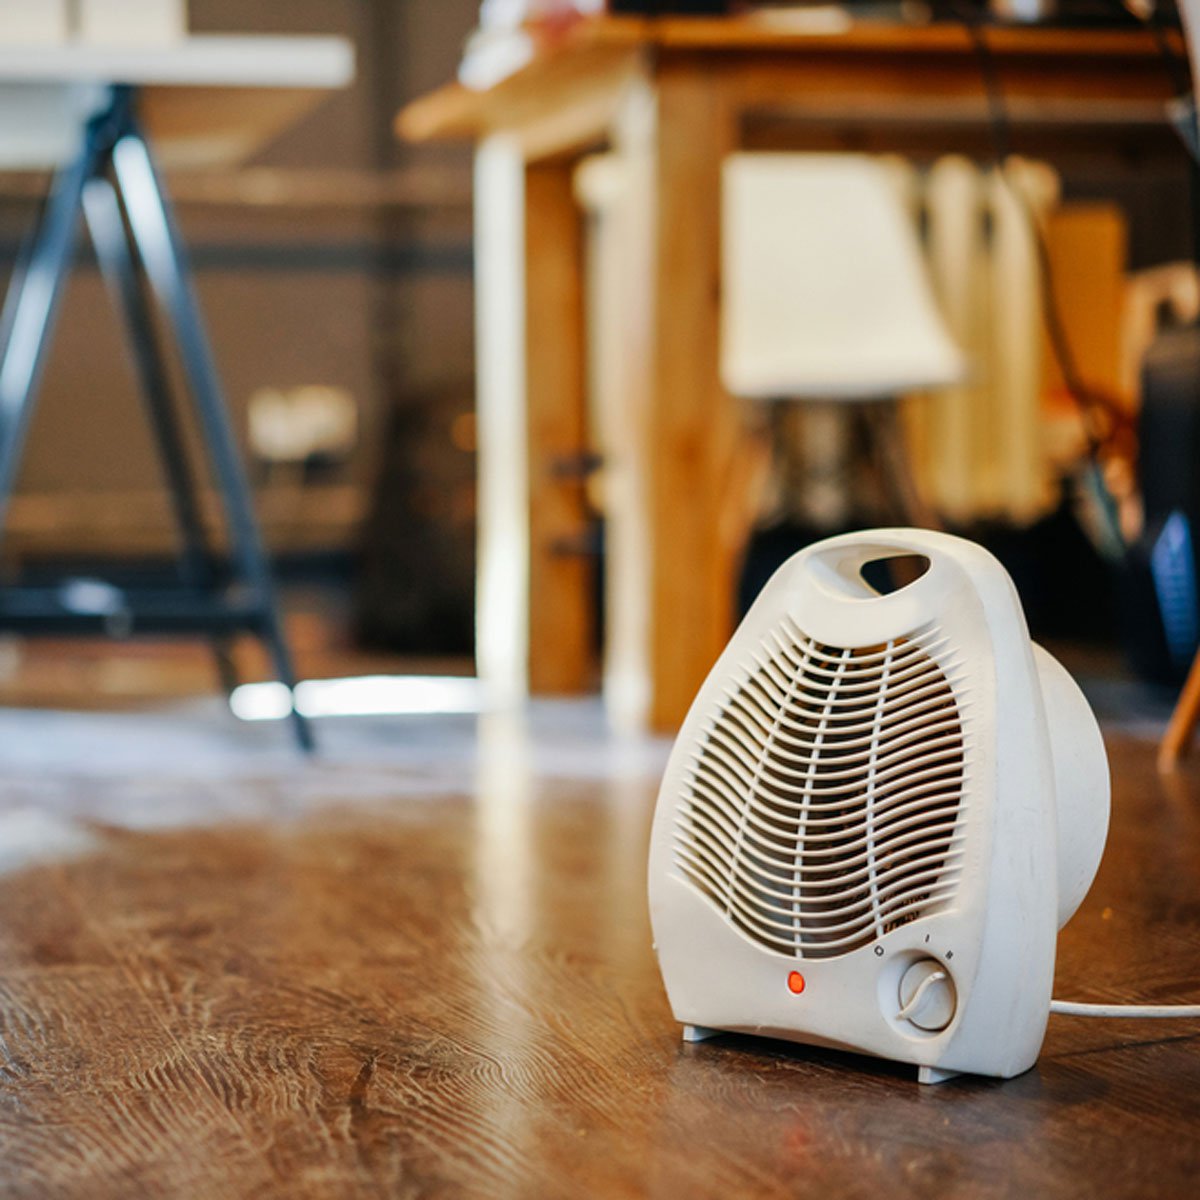
Building a Bubble
You don’t have to watch paint dry - it is possible to create a warm setting whilst you paint by creating a bubble over the area you wish to paint. To do this you’ll need the following:
- 4 mil to 6 mil plastic
- Two-by-four zip poles or scaffolding.
- Space heater
Enclose the area by using the plastic and poles/scaffolding, thus creating your bubble, then place the space heater within the bubble to raise the temperature between 21 and 26 degrees. You’ll need to maintain the temperature in the bubble throughout the drying time and ensure it is properly ventilated. Vital tip: do not leave the area unattended while the space heater is running.
Best Tools for Cold Weather
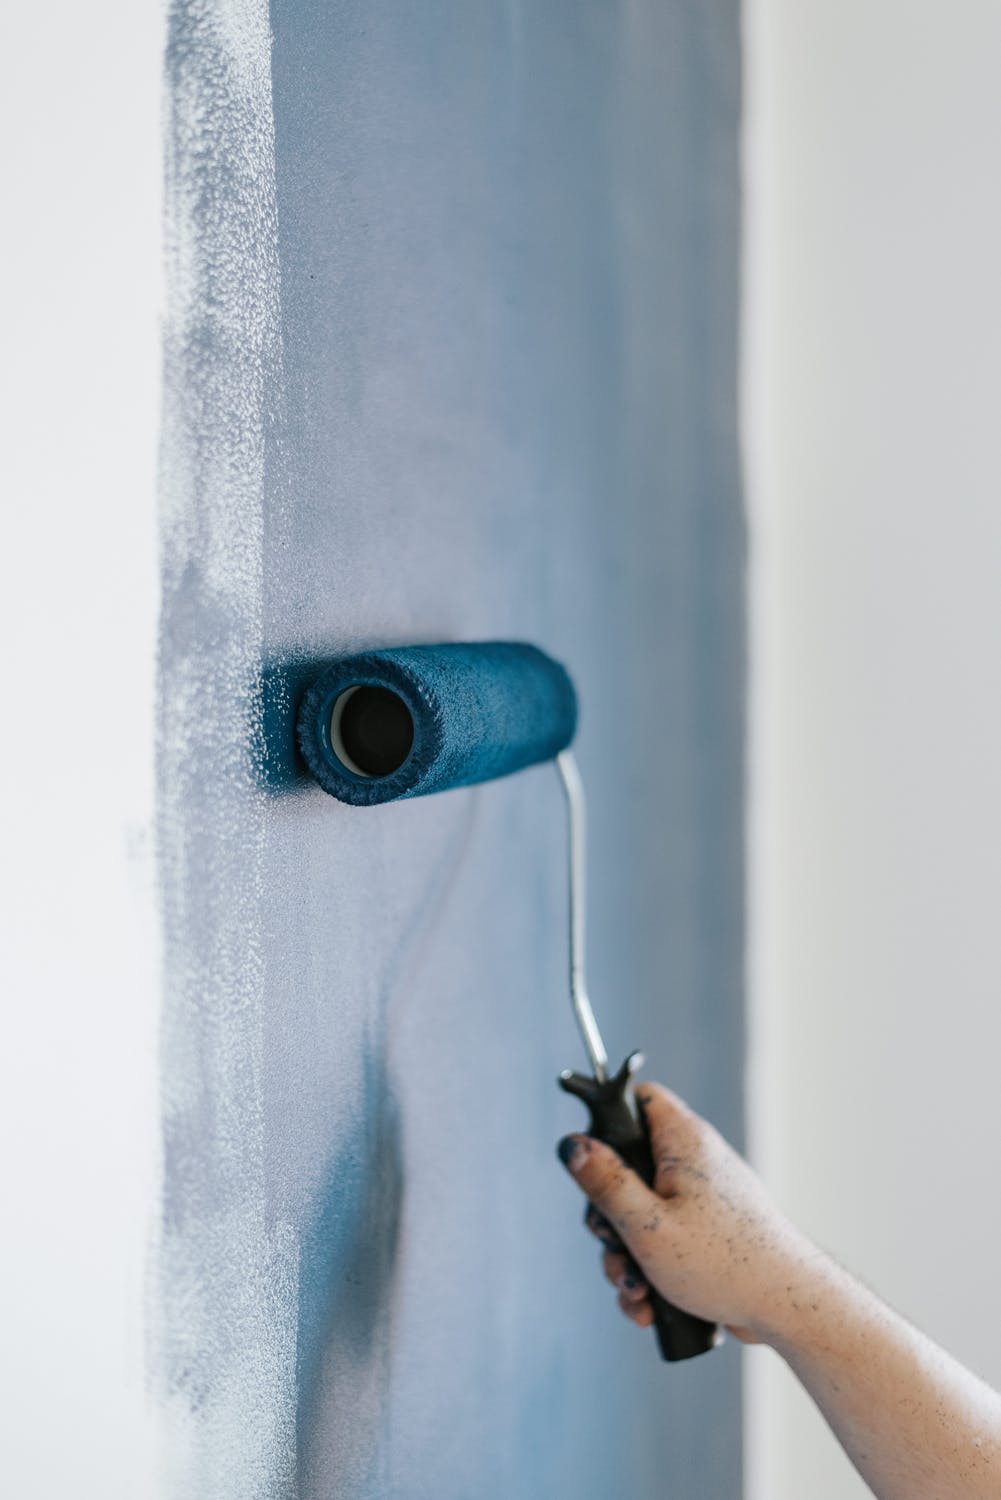
Make sure you have appropriate tools for handling such temperatures. Paints will be thicker in the lower temperatures, so also use rollers and brushes designed to handle thicker paint. Nylon and polyester brushes tend to be best for this since they are stiffer and hold thicker paints better.
Tracking the Weather
Before you get to work, check the weather forecast and find a few consecutive days when the sun will be out and temperatures will be at their peak. You’ll need to factor in drying time, so aim for consistent temperatures from day-to-day and make sure they don't drop below the minimum temp.