How to Update Your Trim and Moulding for a Fresh Look
Updating your trim and moulding is a simple yet impactful way to refresh the look of your home. Whether you're preparing for a sale, wanting to modernise your space, or simply craving a change, new trim and moulding can dramatically enhance the aesthetic of your interiors. Here’s a step-by-step guide to help you update your trim and moulding for a fresh, contemporary look.
1. Assess Your Current Trim and Moulding
Before you begin, take a close look at your existing trim and moulding. Identify any areas that are damaged, outdated, or in need of repair. Consider the style of your home and the overall look you want to achieve. Do you prefer a modern, sleek finish or a more traditional, ornate design? This assessment will guide your choices in materials and styles.
2. Choose Your Style and Material
There are numerous styles and materials to choose from when it comes to trim and moulding. Here are a few popular options:
- Crown Moulding: This adds elegance to the junction between the walls and ceiling. Consider wider profiles for a dramatic effect.
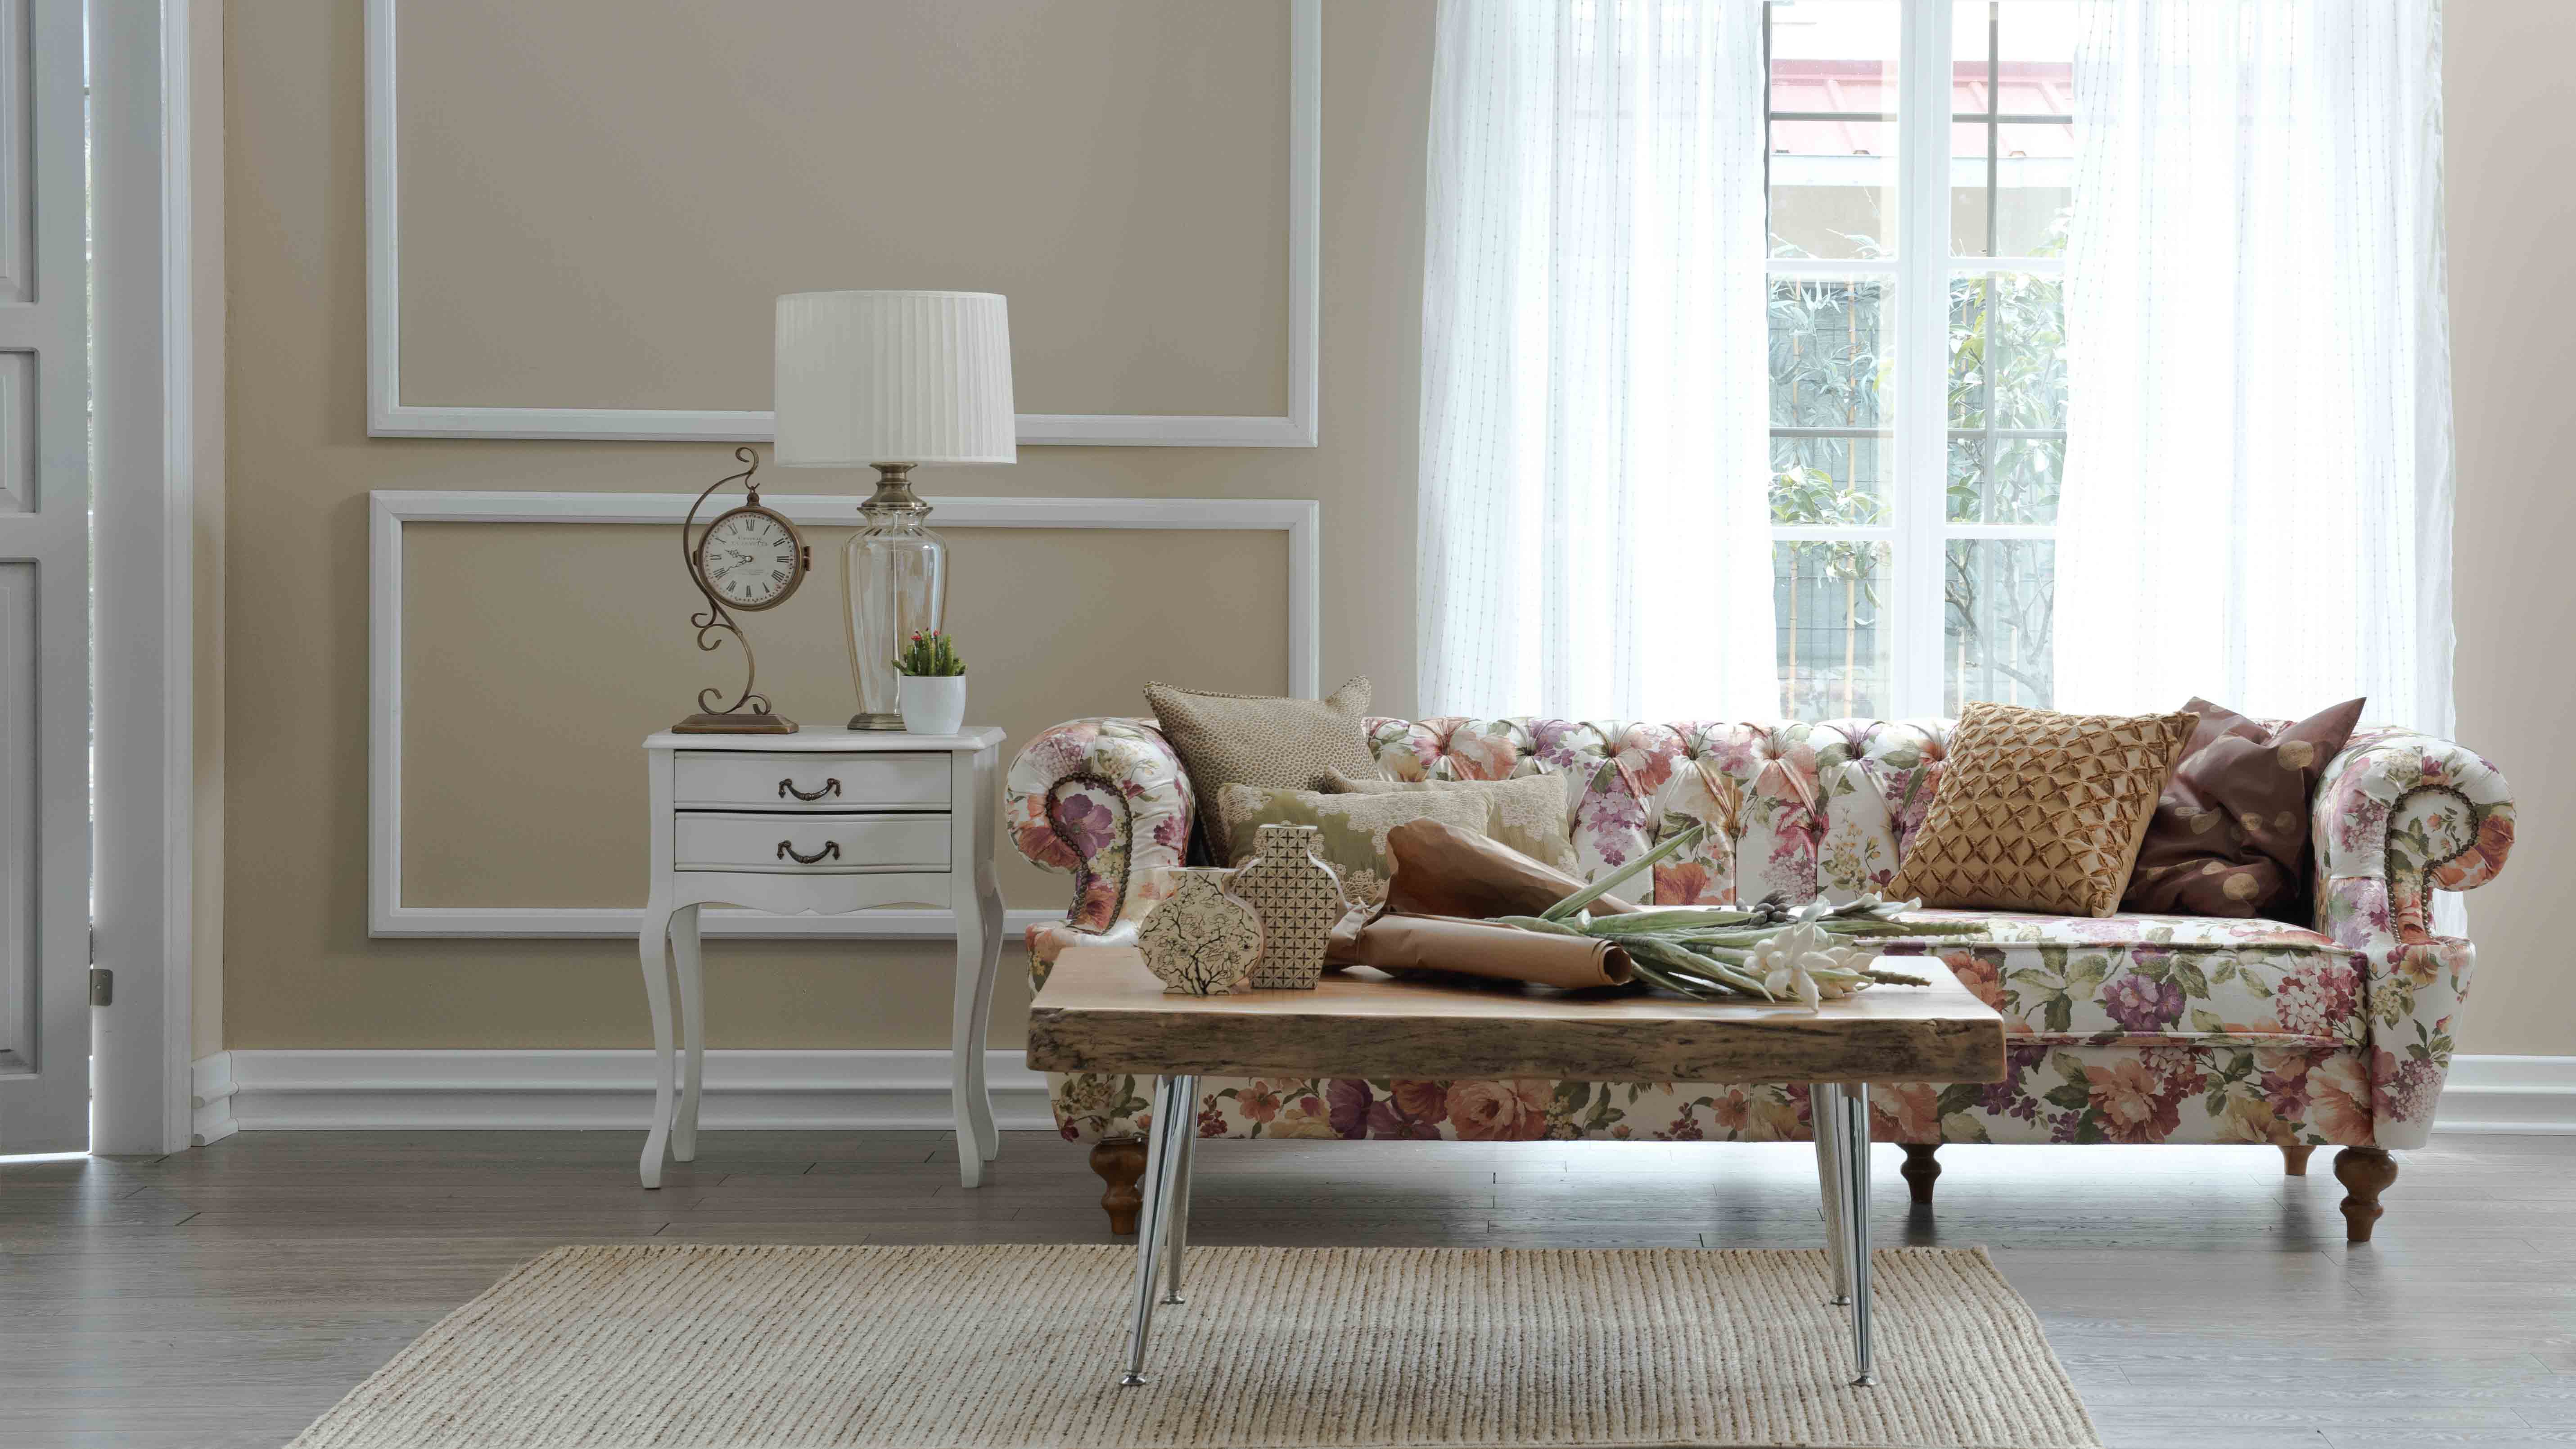
- Baseboards: Taller baseboards can create a more polished look, while thinner styles lend a minimalist feel.
- Chair Rails: Adding a chair rail can break up wall space and provide an opportunity for two-tone paint.
- Wainscoting: This adds texture and visual interest to your walls. It works well in dining rooms and hallways.
Select materials that match your home’s style, such as wood, MDF, or polyurethane. Wood is classic and durable, while MDF is budget-friendly and easy to work with.
3. Gather Your Tools and Supplies
Before you start the update, gather the necessary tools and supplies, which may include:
- Measuring tape
- Mitre saw
- Nail gun or hammer and finishing nails
- Caulk and caulking gun
- Wood filler
- Sandpaper
- Primer and paint
- Paintbrush and roller
- Safety goggles and dust mask
4. Remove Old Trim and Moulding
Carefully remove the existing trim and moulding using a pry bar or utility knife. Take your time to avoid damaging the walls. If you plan to replace the trim with new styles, remove it in whole pieces to make the process easier. Patch any holes or imperfections in the wall with spackle or joint compound, and allow it to dry completely before sanding it smooth.

5. Measure and Cut New Trim
Once your walls are prepped, measure the areas where the new trim will go. Cut your new trim pieces to size using a mitre saw, ensuring accurate angles for corners. Remember to account for the profile of the trim when making your cuts. If you're not comfortable with angles, you can always purchase pre-cut trim pieces from home improvement stores.
6. Install the New Trim
Begin installing the new trim by securing the pieces to the wall with a nail gun or hammer and finishing nails. Start with the baseboards, then add the crown moulding, and finish with any chair rails or wainscoting. Use a level to ensure everything is straight. For corners, use caulk to fill in any gaps and create a seamless look.

7. Fill and Sand
After installation, fill any nail holes or imperfections with wood filler. Allow it to dry, then sand the areas smooth. This step ensures a clean, polished finish that will look professional.
8. Prime and Paint
Once the trim is installed and sanded, it’s time to prime and paint. If you’re using raw wood, applying a primer is essential to seal the surface and ensure even paint coverage. Choose a high-quality paint for a durable finish. A semi-gloss or satin sheen is typically recommended for trim, as it provides a nice contrast with walls and is easy to clean.
9. Add Finishing Touches
After the paint has dried, step back and admire your work! Consider adding decorative elements such as decorative brackets, backer boards, or trim paint colours to enhance the overall look. These small details can elevate the trim and moulding, adding a unique flair to your space.
Updating your trim and moulding can transform the look of your home, giving it a fresh, modern feel. By following these steps and selecting the right materials and styles, you can achieve a polished and sophisticated finish that enhances your interior design. Whether you're a DIY enthusiast or a beginner, this project can be manageable and rewarding, leading to a stunning upgrade for your living space. Happy renovating!