Texture Techniques: Sponging
It’s texture time! In this edition of Texture Techniques, we’re going to be looking at sponging. One of the easiest and most rewarding decorative painting techniques, sponging allows for complete creative freedom and produces some truly amazing results. Interested? Let’s find out more.
What is Sponging?
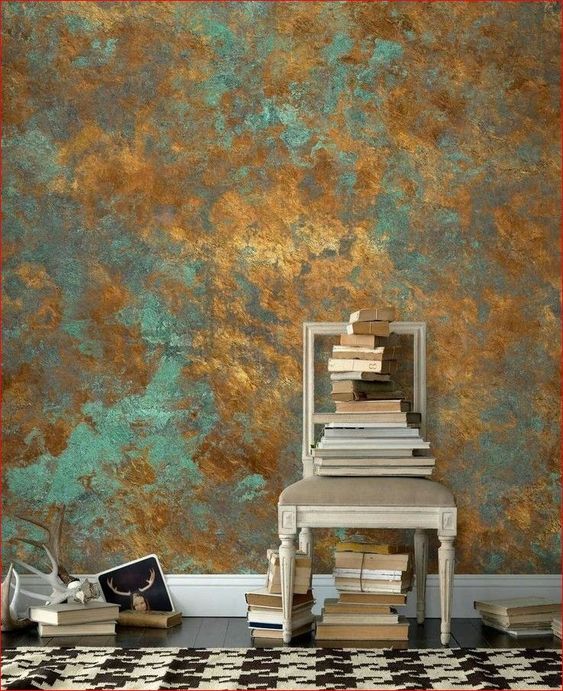
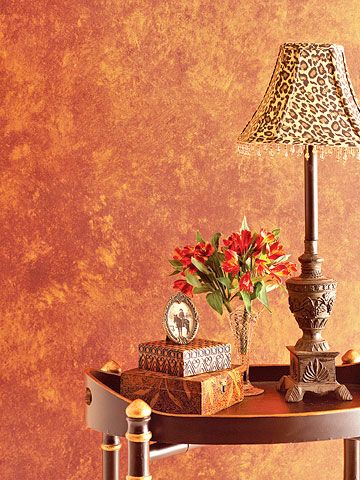
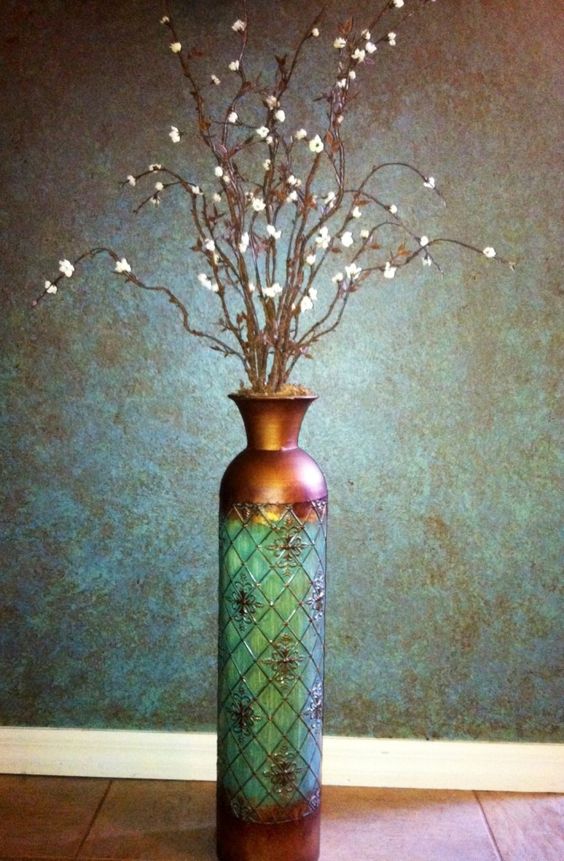
Sponging is essentially exactly what it sounds like; painting walls with a sea sponge to create a blended, mottled effect with multiple colours. This technique allows for both subtle, blended effects and eye-catching bold ones, depending on the colour choice and amount of colours used. This technique can also be used in variety of ways. Sponging an entire room can create a rustic, old-world effect, adding character to any room, while using a sponging technique on a feature wall is certain to grab attention in any modern home.
Colour Choice
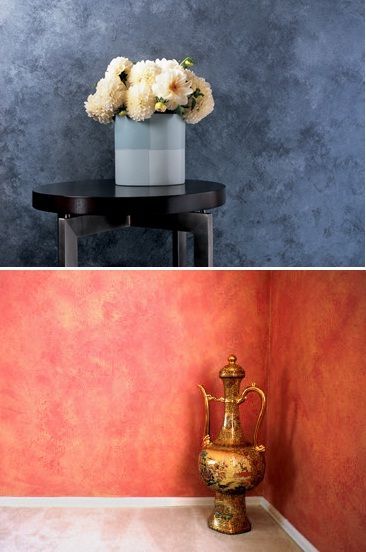
The big question when deciding to sponge paint a wall is, of course, colour choice. Depending on your desired outcome, there are myriad options available in terms of which colours to choose and how many. Sponge painting one or two colours will create a bold, strong effect, whereas using three or more (usually no more than five or six) will produce a subtle, softer final effect. We would recommend using one or two similar colours and an accent colour on top for beautiful results that are certain to catch the eye. Metallic paints are becoming more and more popular to use when sponging, giving you beautiful flecks of reflective gold in your walls, without overpowering the room.
The Right Tools for the Right Job
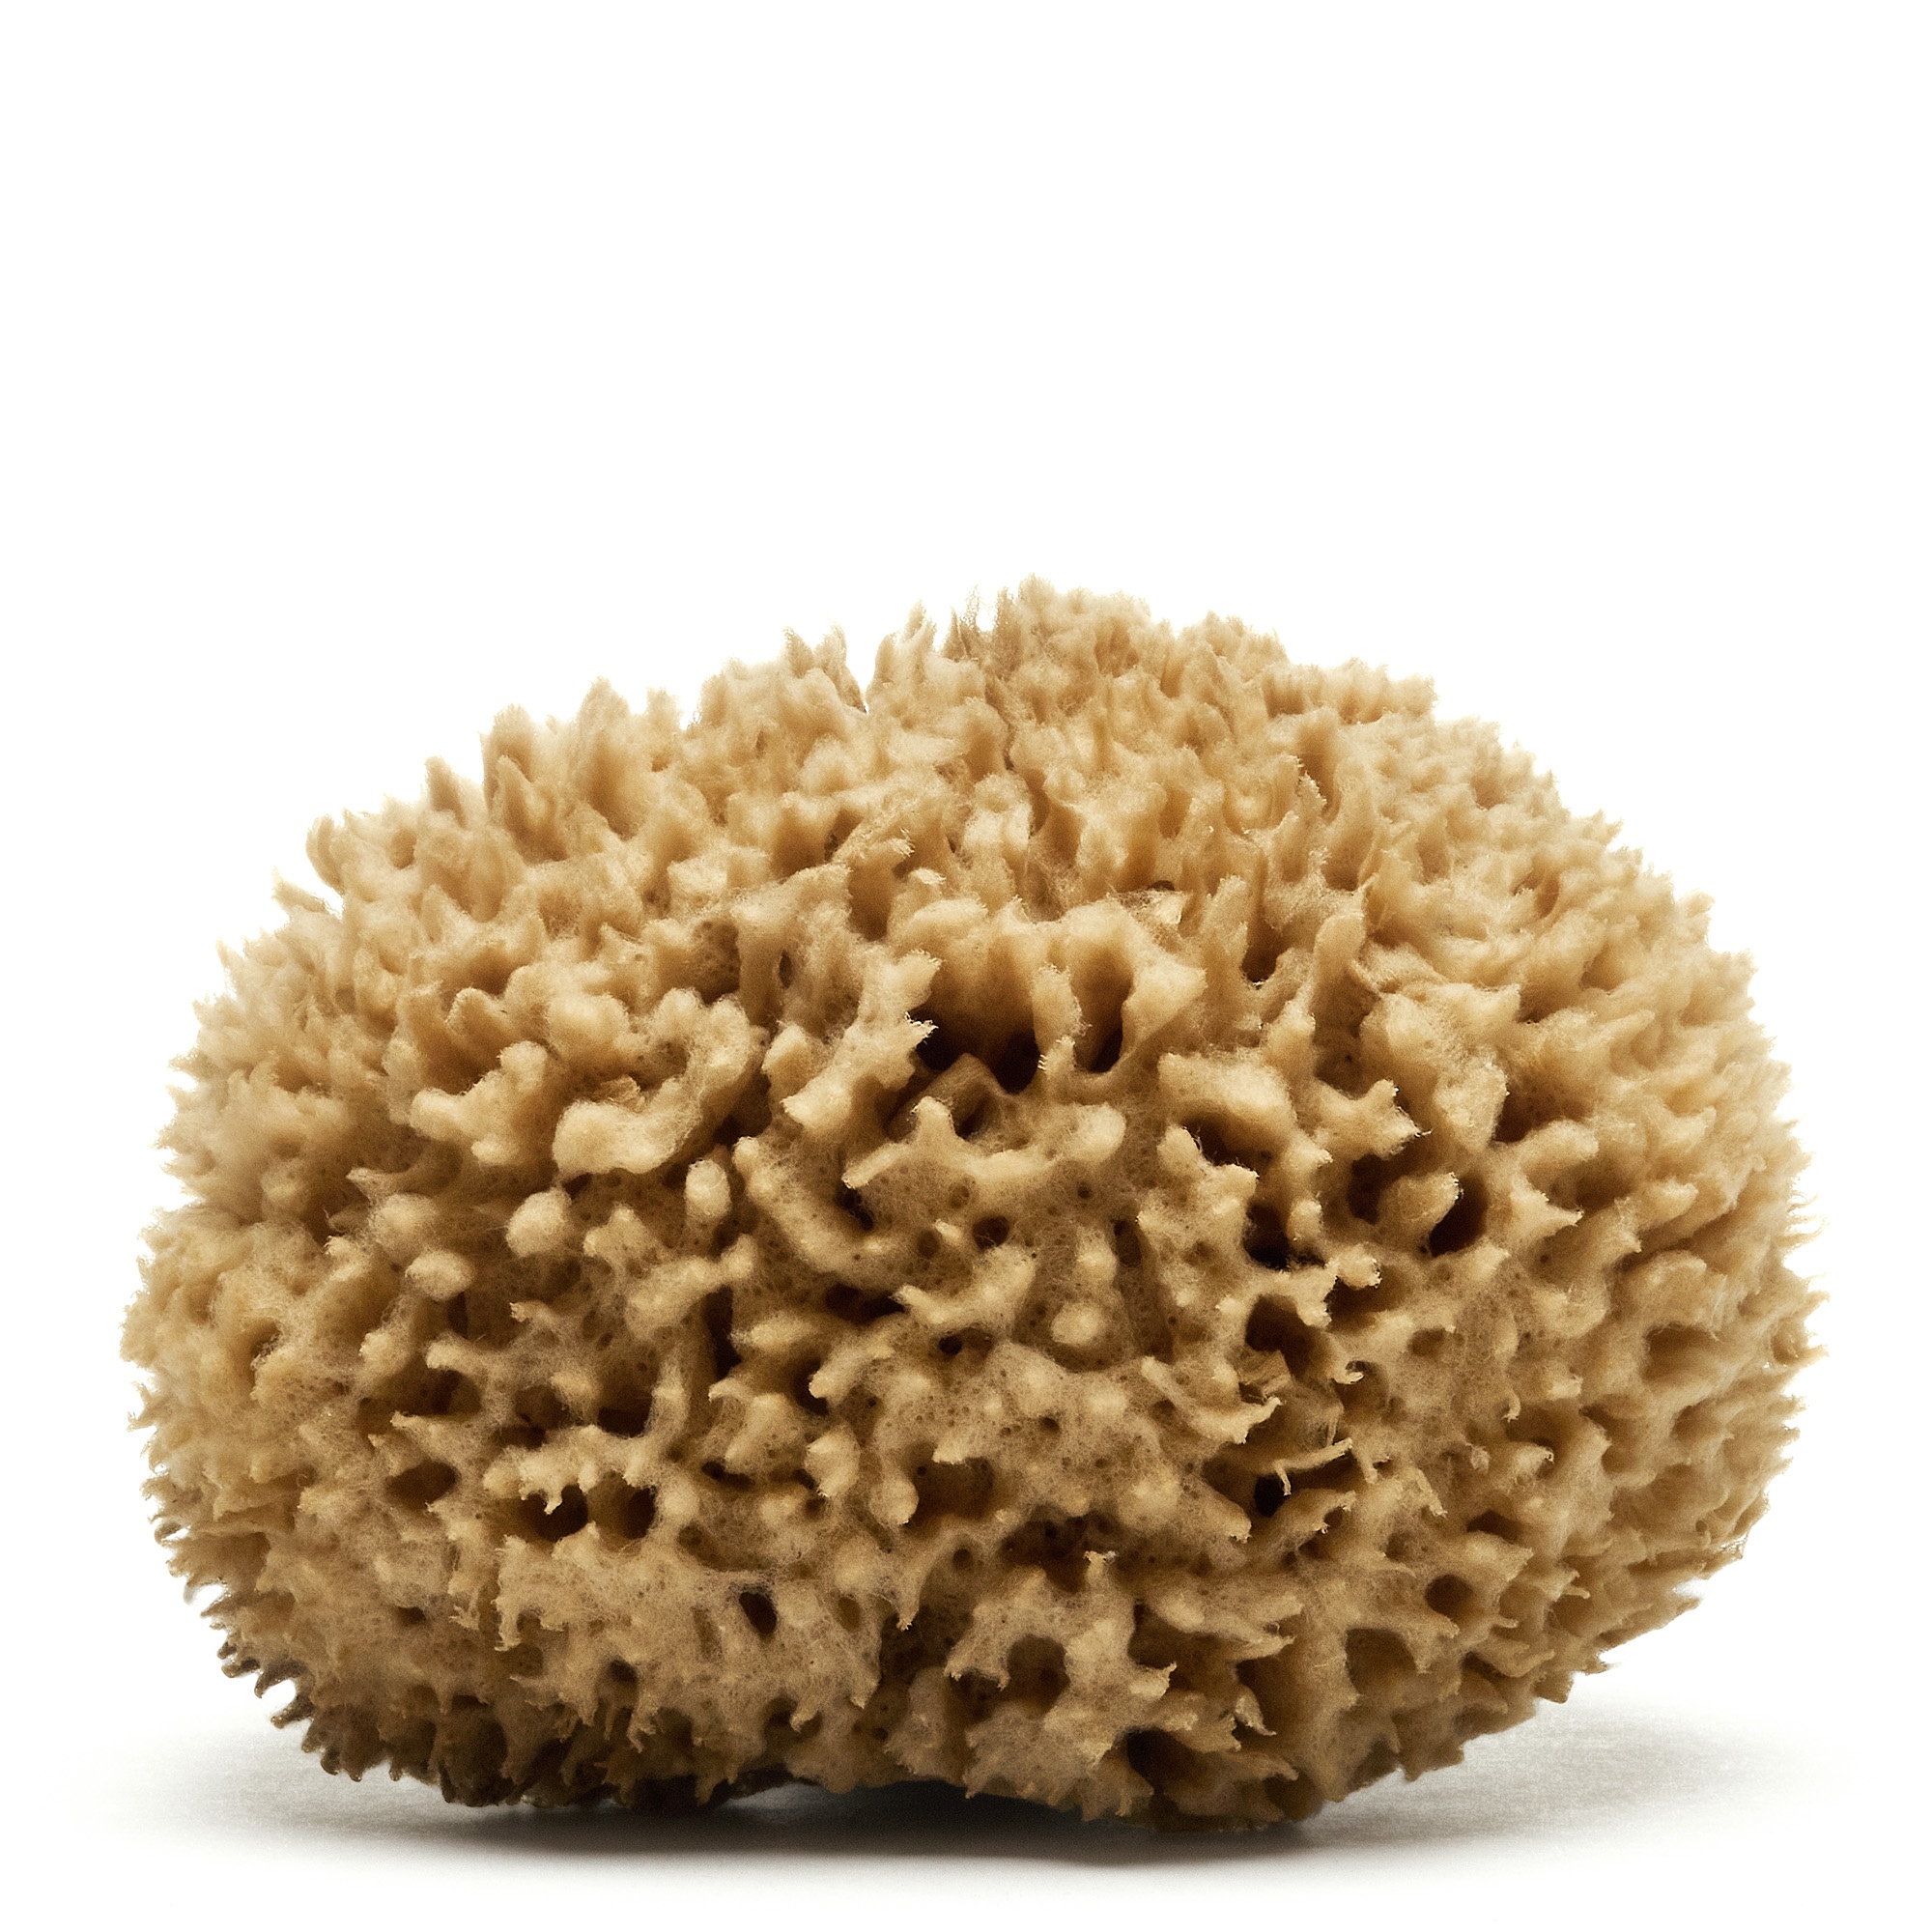
Before we begin, it’s important to have all your equipment sorted. You’ll need your paints of choice, painting glaze, a roller, protective covers, masking tape and most importantly; a sponge. For best results, you’ll want to pick up a natural sea sponge. They’re a bit more expensive, but the natural variation in pore size will produce a better finish than man-made sponges.
Step One: Base Coat
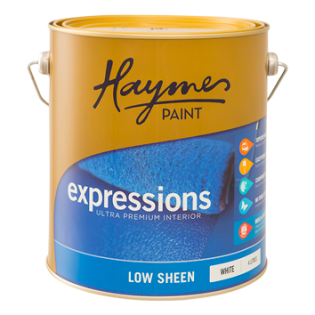
Firstly, you’ll want to roll on a base coat in a colour of your choice. Matte finishes work best for sponging, but low sheen and semi-gloss finishes can be used as well. Either way, Haymes' Interior Expressions range of paints are perfect for the job. It's easily washable, boasts superior coverage and comes with a 7 year mould and mildew guarantee to give you total peace of mind. Also make sure to use painter’s tape to protect your skirting, cornices and architraves from any dropped paint.
Step Two: First Coat
Once the base coat has dried take your next paint colour and mix with the glaze as per the instructions on the tin. Take the sponge and dampen it with water before dipping it in the paint/glaze mix, wiping off any excess. Gently dab the sponge against the wall, being sure not to press too hard or drag the sponge along the surface. You can roll the sponge along the wall to change up the patterns that may be forming, helping to achieve more of a random appearance. Take a step back and make sure you’re happy with your work, using a small piece of sponge to touch up certain areas and make sure you get well into the corners.
Step Three: Repeat
Wait for the first coat to dry and repeat as many times as you like until you’ve evenly covered the wall with all colours used. Congratulations, you’ve now successfully sponge painted a wall!
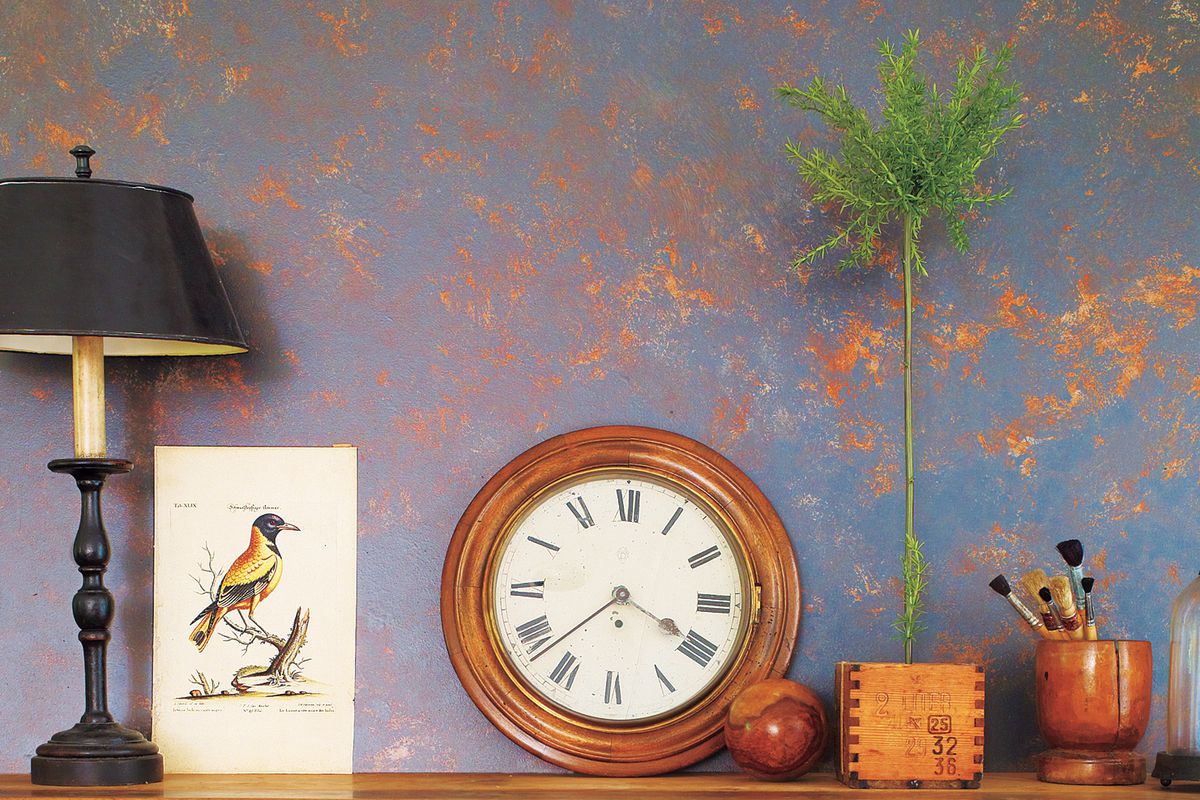
Header Image: This Old House