Texture Techniques: Strie
It’s time to dive back into the world of textured painting. Textured paint techniques have been catapulted back into fashion due to their eye-catching, unique appearance and the “perfect imperfection” they display, tying in to the current design trend of Wabi Sabi. It’s bound to grab attention and it’s surprisingly easy to do, so let’s do it! Today we’re going to be looking at a technique with French origins; the strie technique.
What is Strie?
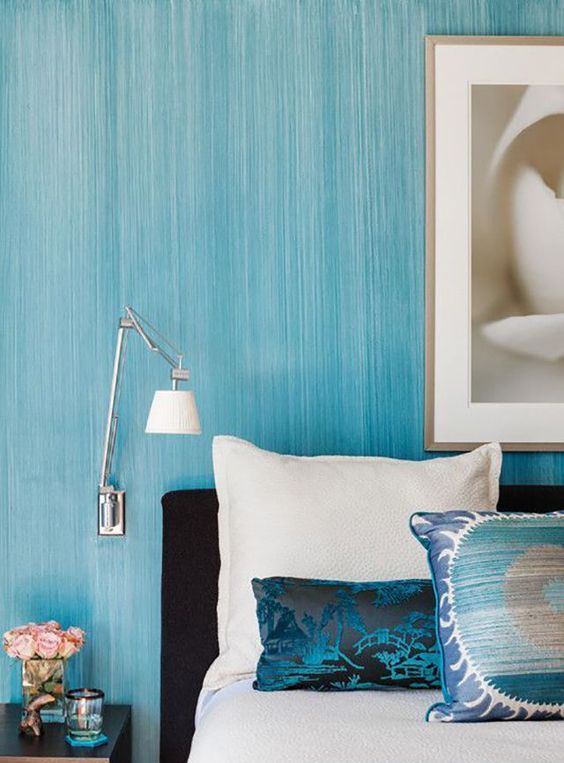
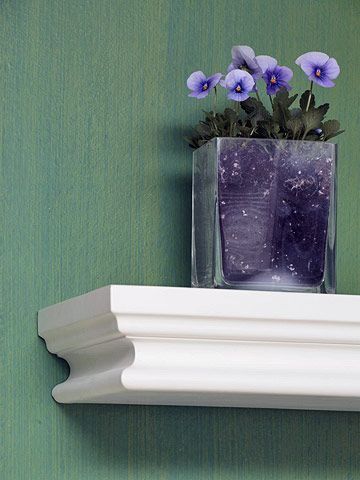
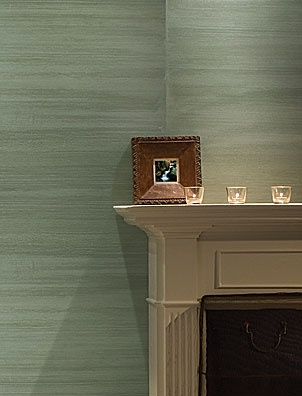
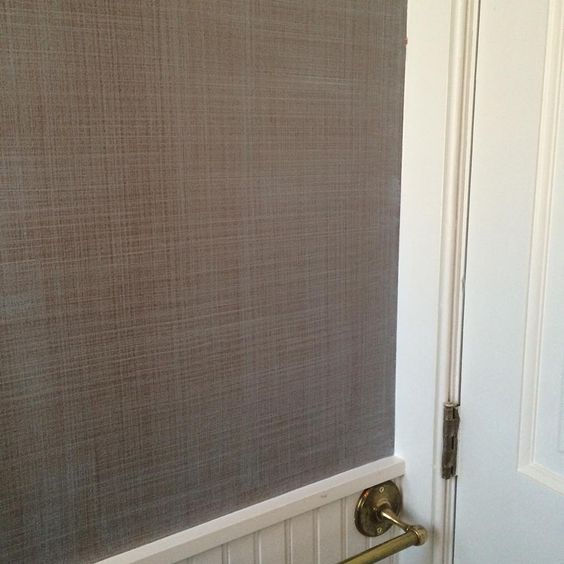
With its vertical or horizontal lines, the strie technique was developed to mimic the look of aged painting showing noticeable brush strokes after many years of wear. When vertical and horizontal strie strokes are combined, the technique can be used to mimic the look of linen, creating a softening effect for your walls. Like other “faux painting” techniques, strie painting is achieved with the help of glaze. In this case, the glaze is applied to the entire wall and then “dragged” off using a brush. This is why strie painting can also be known as “dragging”.
The Right Tools for the Right Job
Before you begin its important that you’re fully prepared for the job. Special strie brushes can be bought that are designed specifically for strie painting, but just about any brush will do the trick. Brushes with more fine bristles will create a more subtle effect, while a bolder, more noticeable look can be achieved with thicker, spaced brushes. Try practicing with a variety of different brushes on a test surface to figure out which works best for the style you want to achieve.
Colours
Picking your colours for strie painting is important, but there is plenty of room for creativity. Like colour washing, the best effect can be achieved by picking colours from the same colour group, creating a beautiful textured finish reminiscent of classic French décor. For best results, pick the colour you want for your walls and then choose a lighter shade that will be used as a base coat.
Step One: Base Coat
First, you’ll want to paint a base coat layer with the lighter shade colour. Be sure to use painter’s tape to tape off skirting boards, trims etc. and lay a drop sheet on the floor. Use a roller and apply like painting a regular wall. Ensure the wall is fully covered, remembering to cut in at the edges.
Step Two: Top Layer
Mix your top layer colour with glaze as instructed on your tin, then roll the mixture onto a small section of wall. The paint needs to remain wet for this technique so only a section about a metre wide, floor to ceiling at a time. Using the dry brush of your choice, drag in a straight line down from the ceiling to the floor, creating the thin lines of the strie technique. Wipe your brush and repeat until your wall is complete. If you’re looking to combine both vertical and horizontal lines, simply repeat the process working horizontally once the vertical layer has dried. Either way, you’re certain to love your brand new Strie painted walls!
