
How to Paint Weatherboards Like a Pro: Exterior Preparation & Application Guide
If you’re planning to repaint exterior weatherboards, preparation is everything. In fact, the professional finish you see in our video is achieved by following the exact steps outlined in this guide. From cleaning and adhesion testing through to applying Haymes Solashield, here’s how to get long-lasting results on your home’s exterior.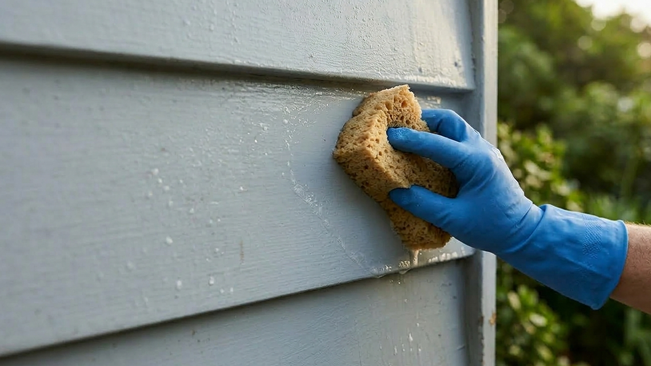
Step 1: Clean and Test the Surface
Before painting, thoroughly wash the surface using Haymes Unikleen mixed at 4 parts warm water to 1 part cleaner for lightly soiled areas. Apply with a cloth or sponge, or use a scrubbing brush for stubborn grime. Allow it to sit for up to five minutes, then rinse thoroughly and let the surface dry completely.
Next, perform an adhesion test. Cut a small “X” through the existing paint film (without cutting into the timber), apply adhesive tape firmly over the cut, then remove it sharply. If paint lifts away, sanding or full stripping may be required. On homes painted decades ago, conduct a lead test before sanding and seek advice from your local paint specialist.
Step 2: Repair and Prepare
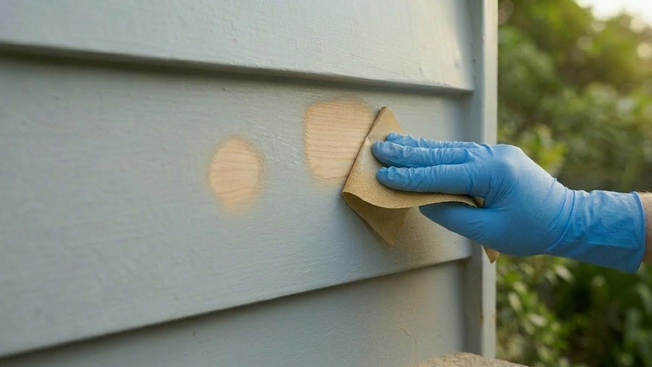
Remove all loose or flaking paint by scraping or sanding. Feather edges smooth so they don’t show through the new finish. Fill imperfections with an exterior-grade filler, sand smooth, and spot prime if required. Use a flexible gap filler on board ends and joins where needed.
Step 3: Apply the Paint Correctly
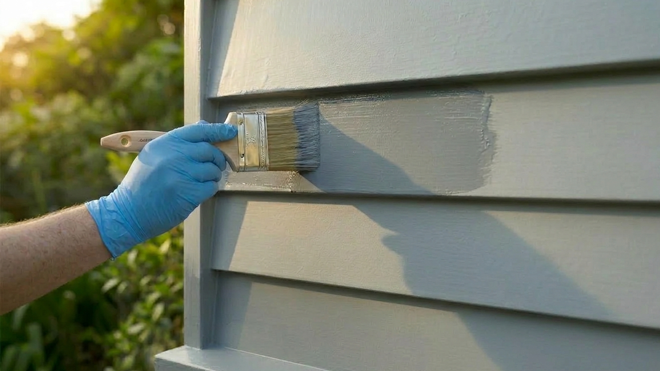
When painting weatherboards, always start at the top and work down. Begin by painting under the board edge, then the face. Work horizontally across one or two boards at a time to maintain a wet edge and prevent lap marks.
Brush back 10–15cm into the previous stroke, then lay off in one direction for a smooth, even finish.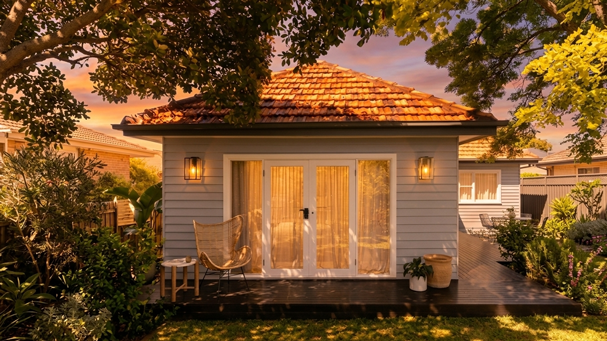
Follow these steps carefully and you’ll achieve a durable, professional-looking exterior finish built to withstand Australian conditions.