How to Create a DIY Moulding Wall: Step-by-Step Guide
Transforming a plain wall into a stylish feature with moulding panels is easier than you might think. Whether you’re looking for a modern wainscoting vibe or classic decorative detailing, this guide will walk you through every step—from planning to painting—so your wall looks professional, even if you’re a DIY beginner.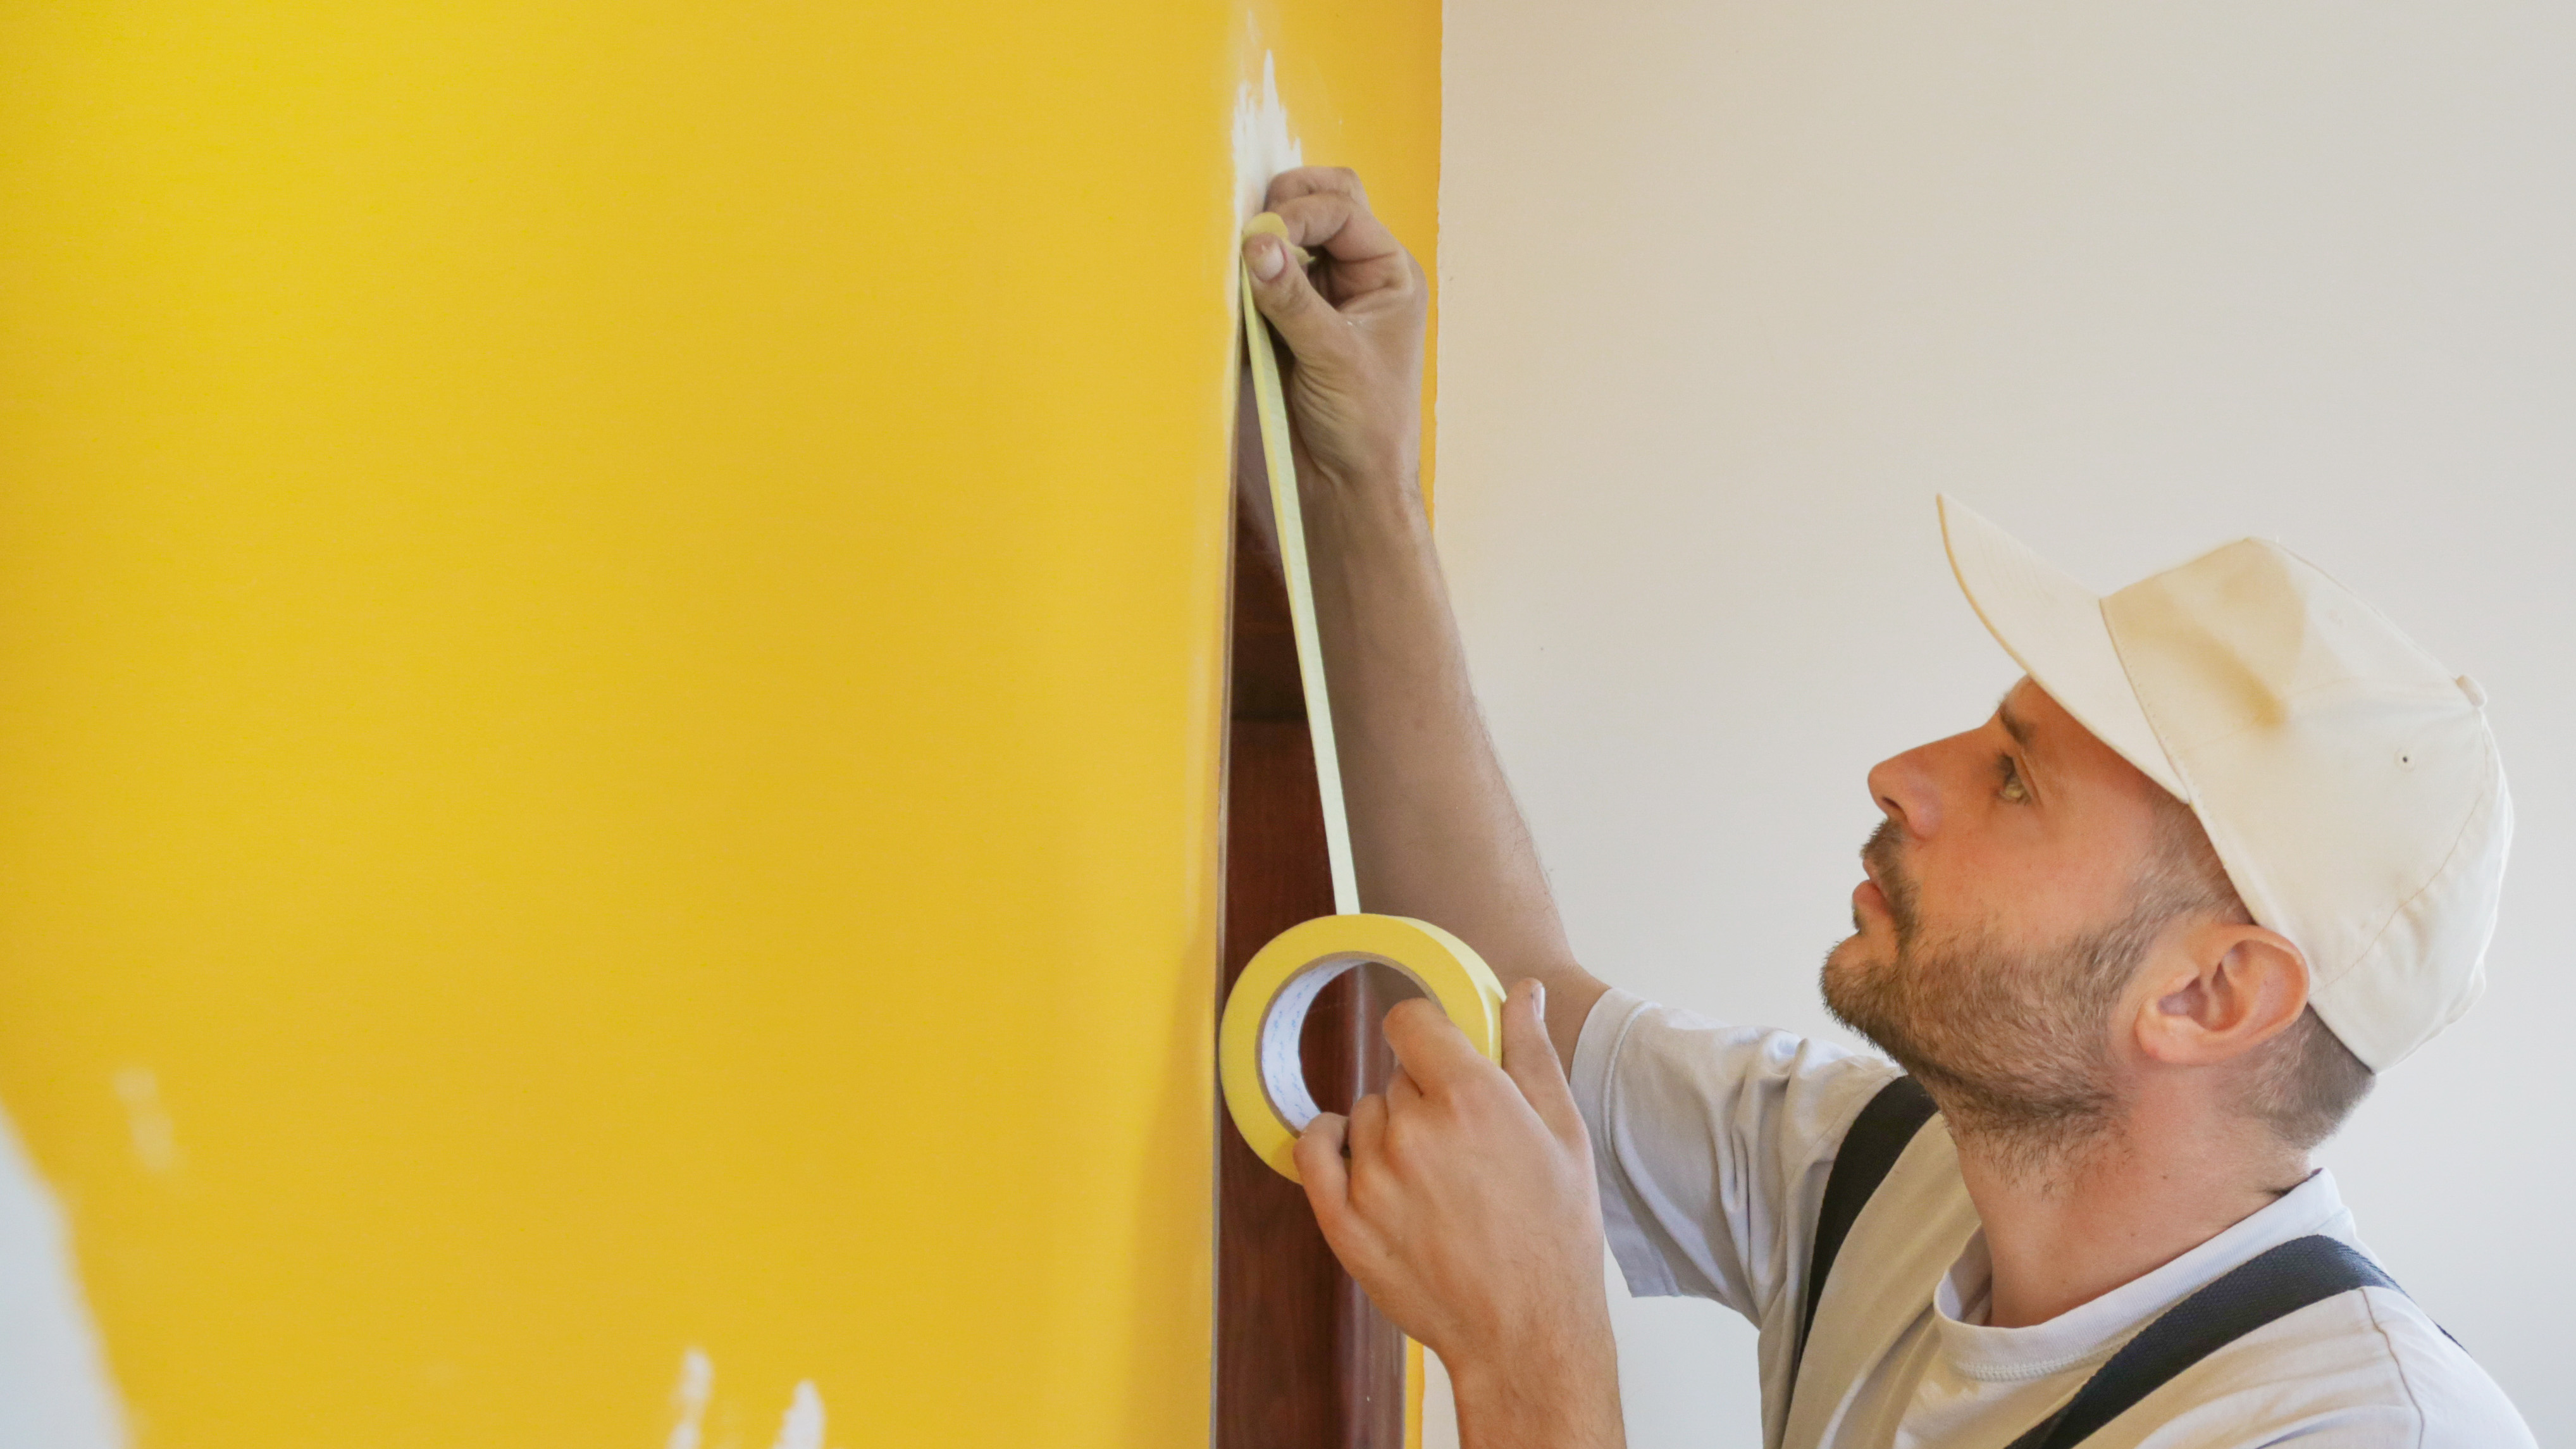
What You’ll Need
Before you start, gather all your materials and safety gear:
Materials:
- Wood for panels
- Paint
- Caulk
- Wood putty
Tools:
- Drop saw
- Brad gun
- Tape measure
- Level
- Calculator
- Pencil
Safety gear:
- Gloves
- Eye protection
- Hearing protection
Having everything ready before you begin will save time and make the process smoother.
Step 1: Measure and Plan
Start by measuring your wall. Decide how many panels you want and the spacing between them. Using a calculator or simple math, plan the layout so panels are evenly distributed. Mark where each panel will sit with a pencil—this helps keep everything straight when you start cutting and installing.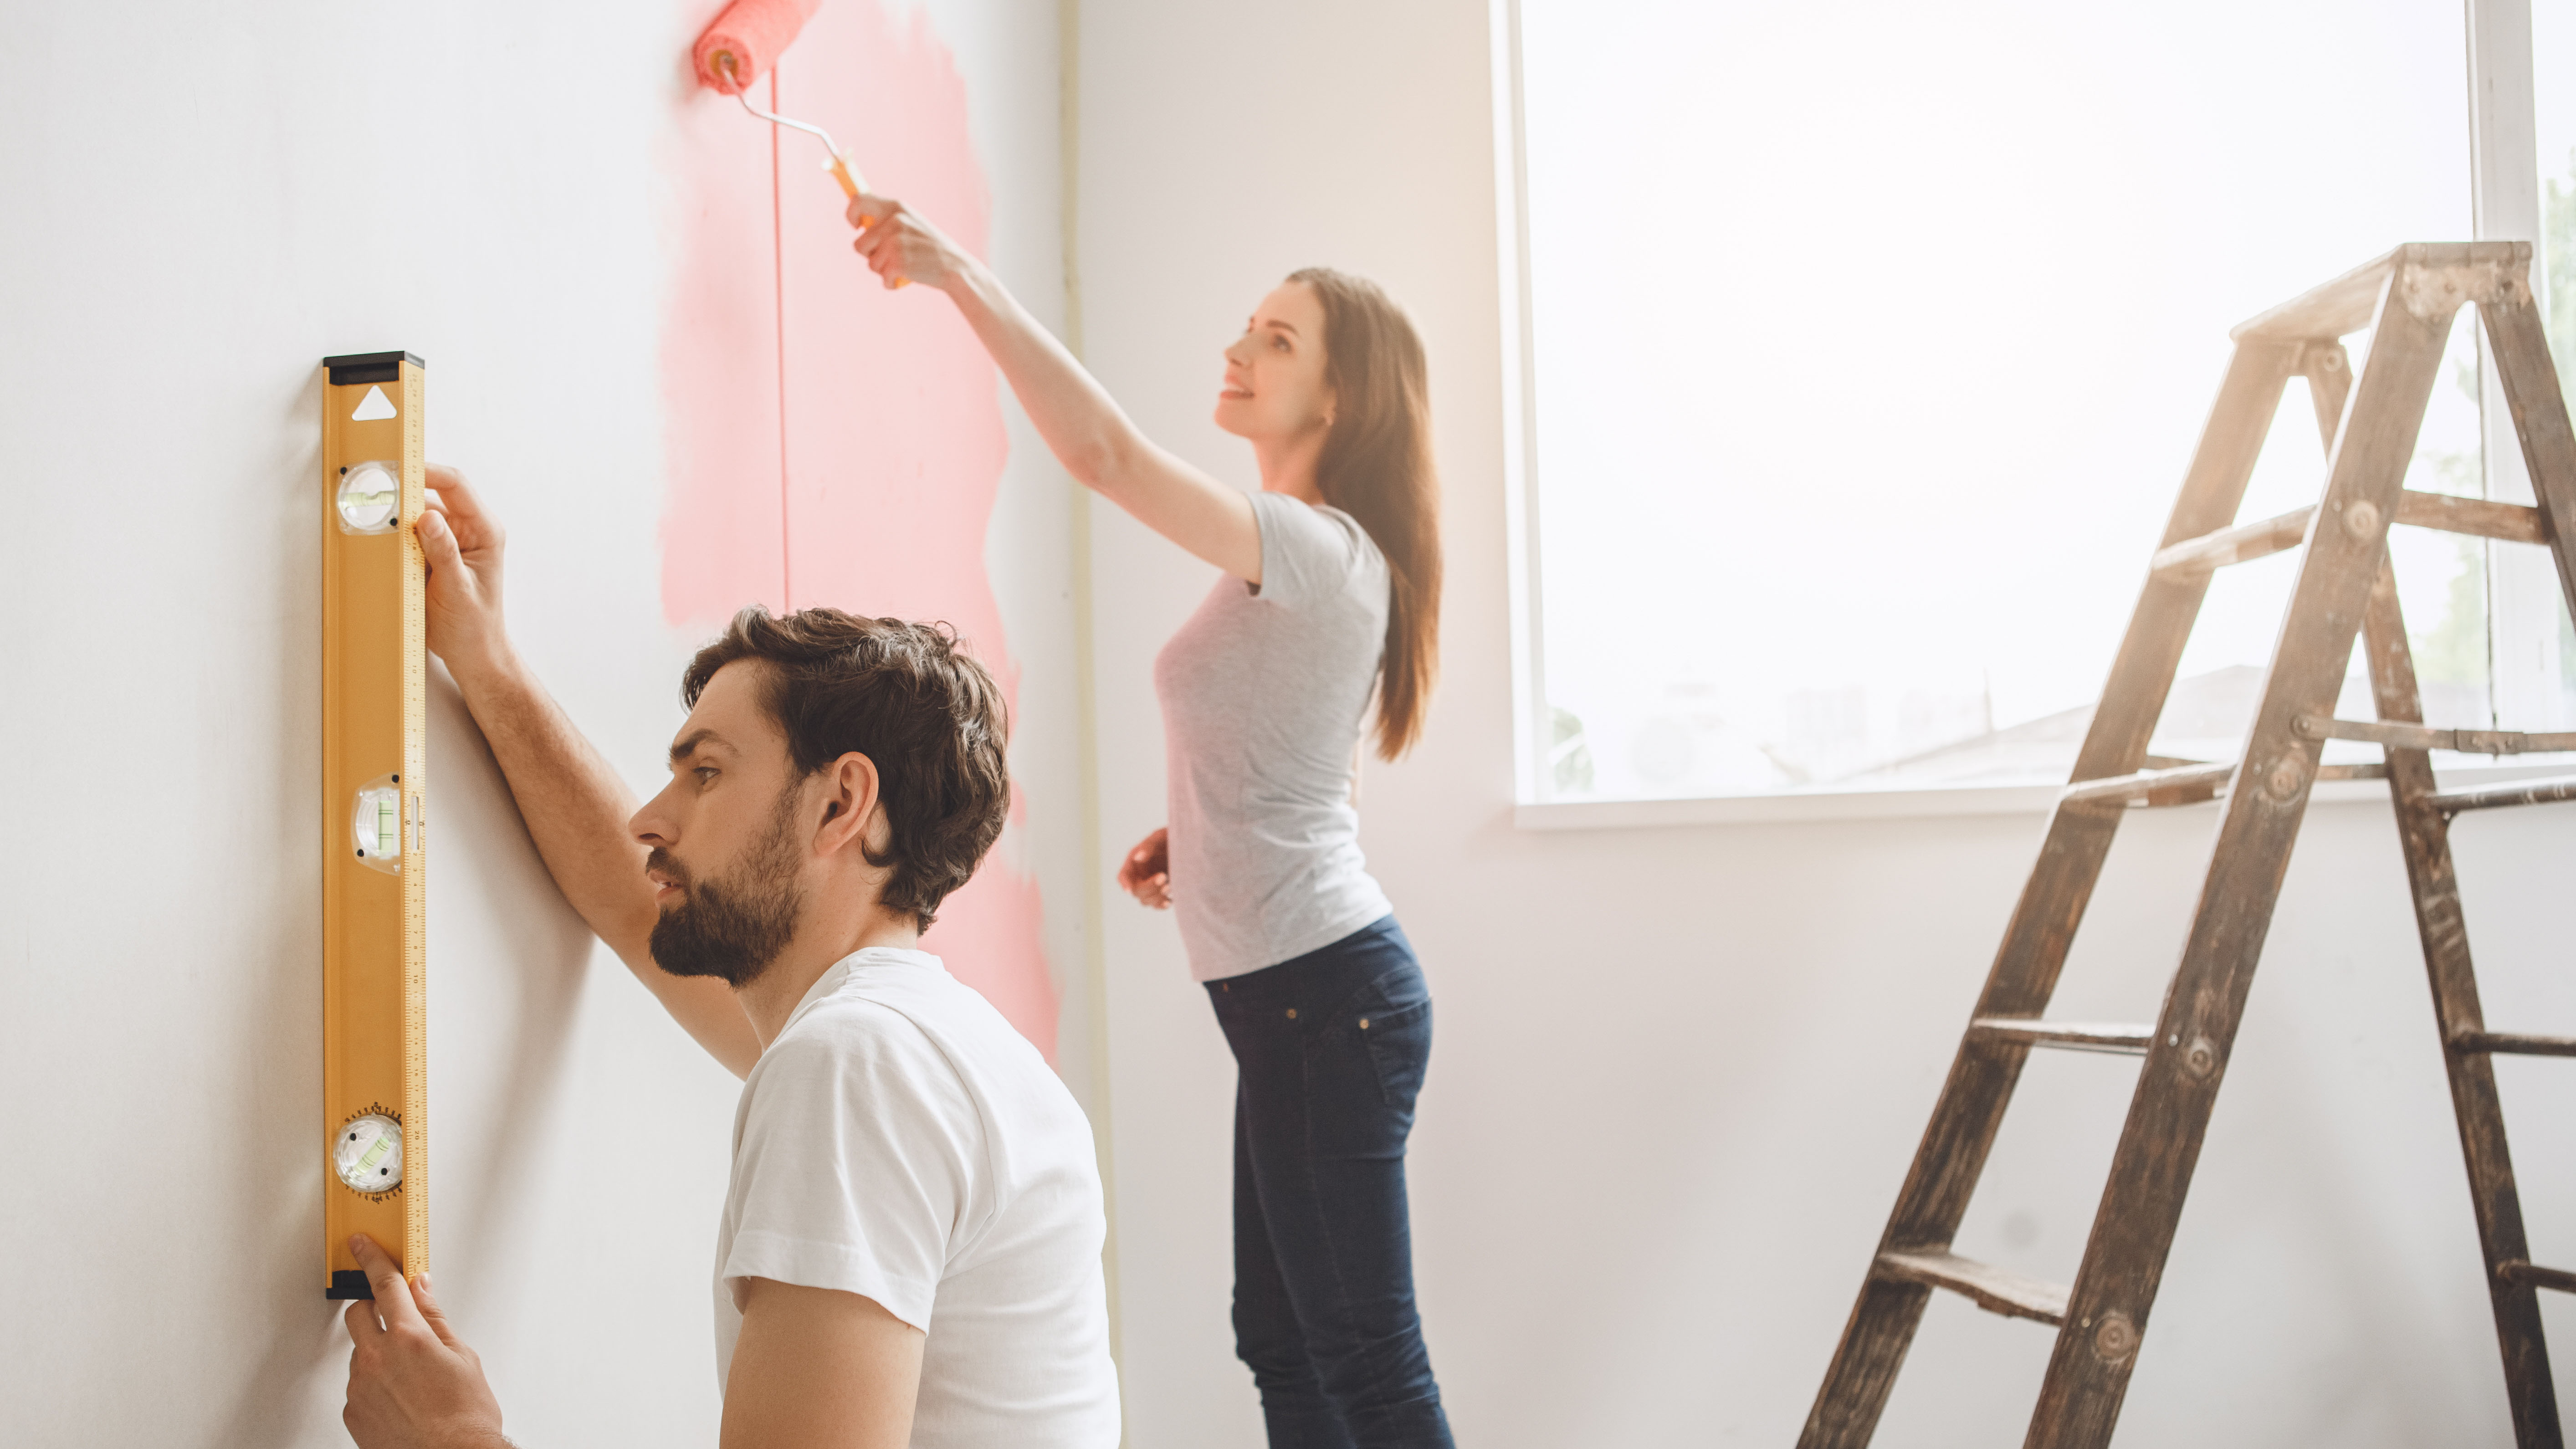
Step 2: Cut Your Panels
Using a drop saw, carefully cut your wood panels to size. Take your time and double-check measurements before cutting—accuracy here is key to a polished look.
Tip: Always wear eye and hearing protection when cutting wood.
Step 3: Install the Panels
Position your panels on the wall according to your measurements. Use a level to ensure they are perfectly straight. Once aligned, secure the panels with a brad gun.
Pro tip: Start from the bottom and work your way up. This makes alignment easier and reduces errors.
Step 4: Finish the Edges
To create a seamless, professional finish:
- Run caulk along all panel edges to fill gaps.
- Fill any nail holes with wood putty.
- Once dry, lightly sand the putty for a smooth finish.
This step is essential to make the wall look crisp and clean before painting.
Step 5: Paint Your Moulding Wall
Allow all caulk and putty to dry for at least 2 hours. Then, apply your chosen paint using a brush. Multiple coats may be needed depending on the colour and type of paint.
Pro tip: Use painter’s tape if you’re painting different colours for panels and wall background. It keeps lines sharp and neat.
Step 6: Step Back and Admire
Once the paint is dry, remove any painter’s tape, clean up, and enjoy your beautiful new moulding wall. With careful planning and attention to detail, you’ll have a feature wall that adds instant character and style to your space.